
Zoom in or hover images for detail:
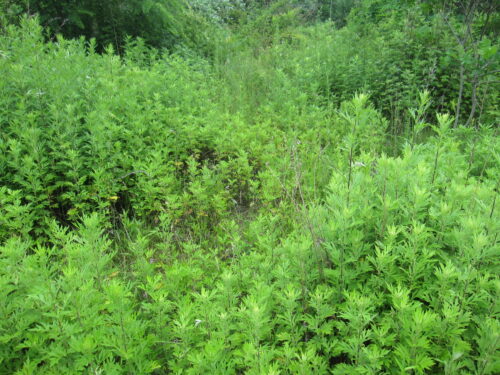
Mugwort, Artemisia vulgaris, is a very weedy perennial herbaceous plant that quickly grows into a five-foot-high thicket by the summer.
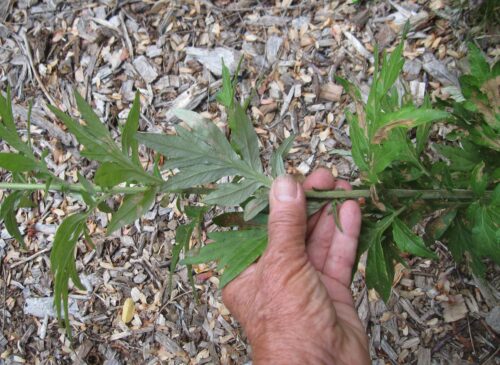 The underside of mugwort leaf
A good way to identify this plant is to turn over one of the highly lobed alternate leaves. The color is a light grey version of the upper surface.
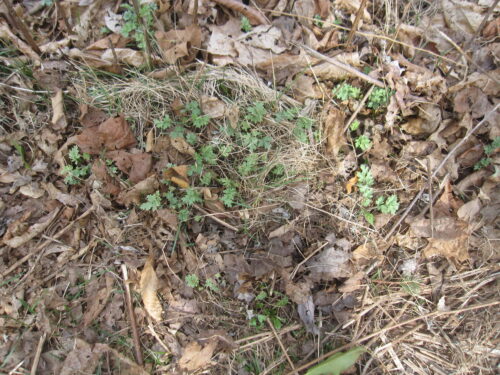
While the previous year’s crop disappears over the winter, it regenerates new growth from the rhizomes an inch or two below the ground in early spring.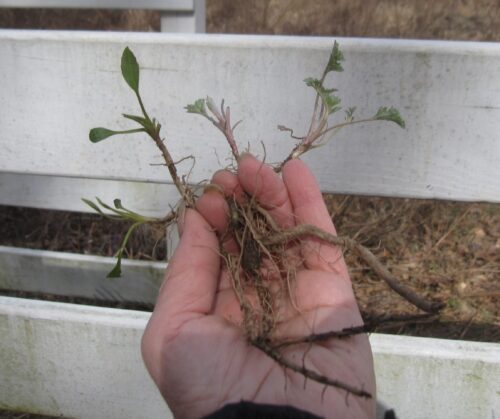 Native plant (left) and Mugwort (right) in Early Spring
Mugwort may be confused with other plants, such as our native asters or goldenrod.
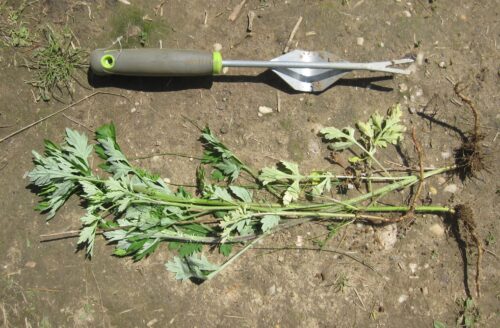
Although a thicket of mugwort may appear to be individual stems growing near each other, they may actually be shoots of the same plant. Because new growth is primarily along the rhizomes or horizontal roots, be sure to remove the entire rhizomes which may grow to two or more feet long.
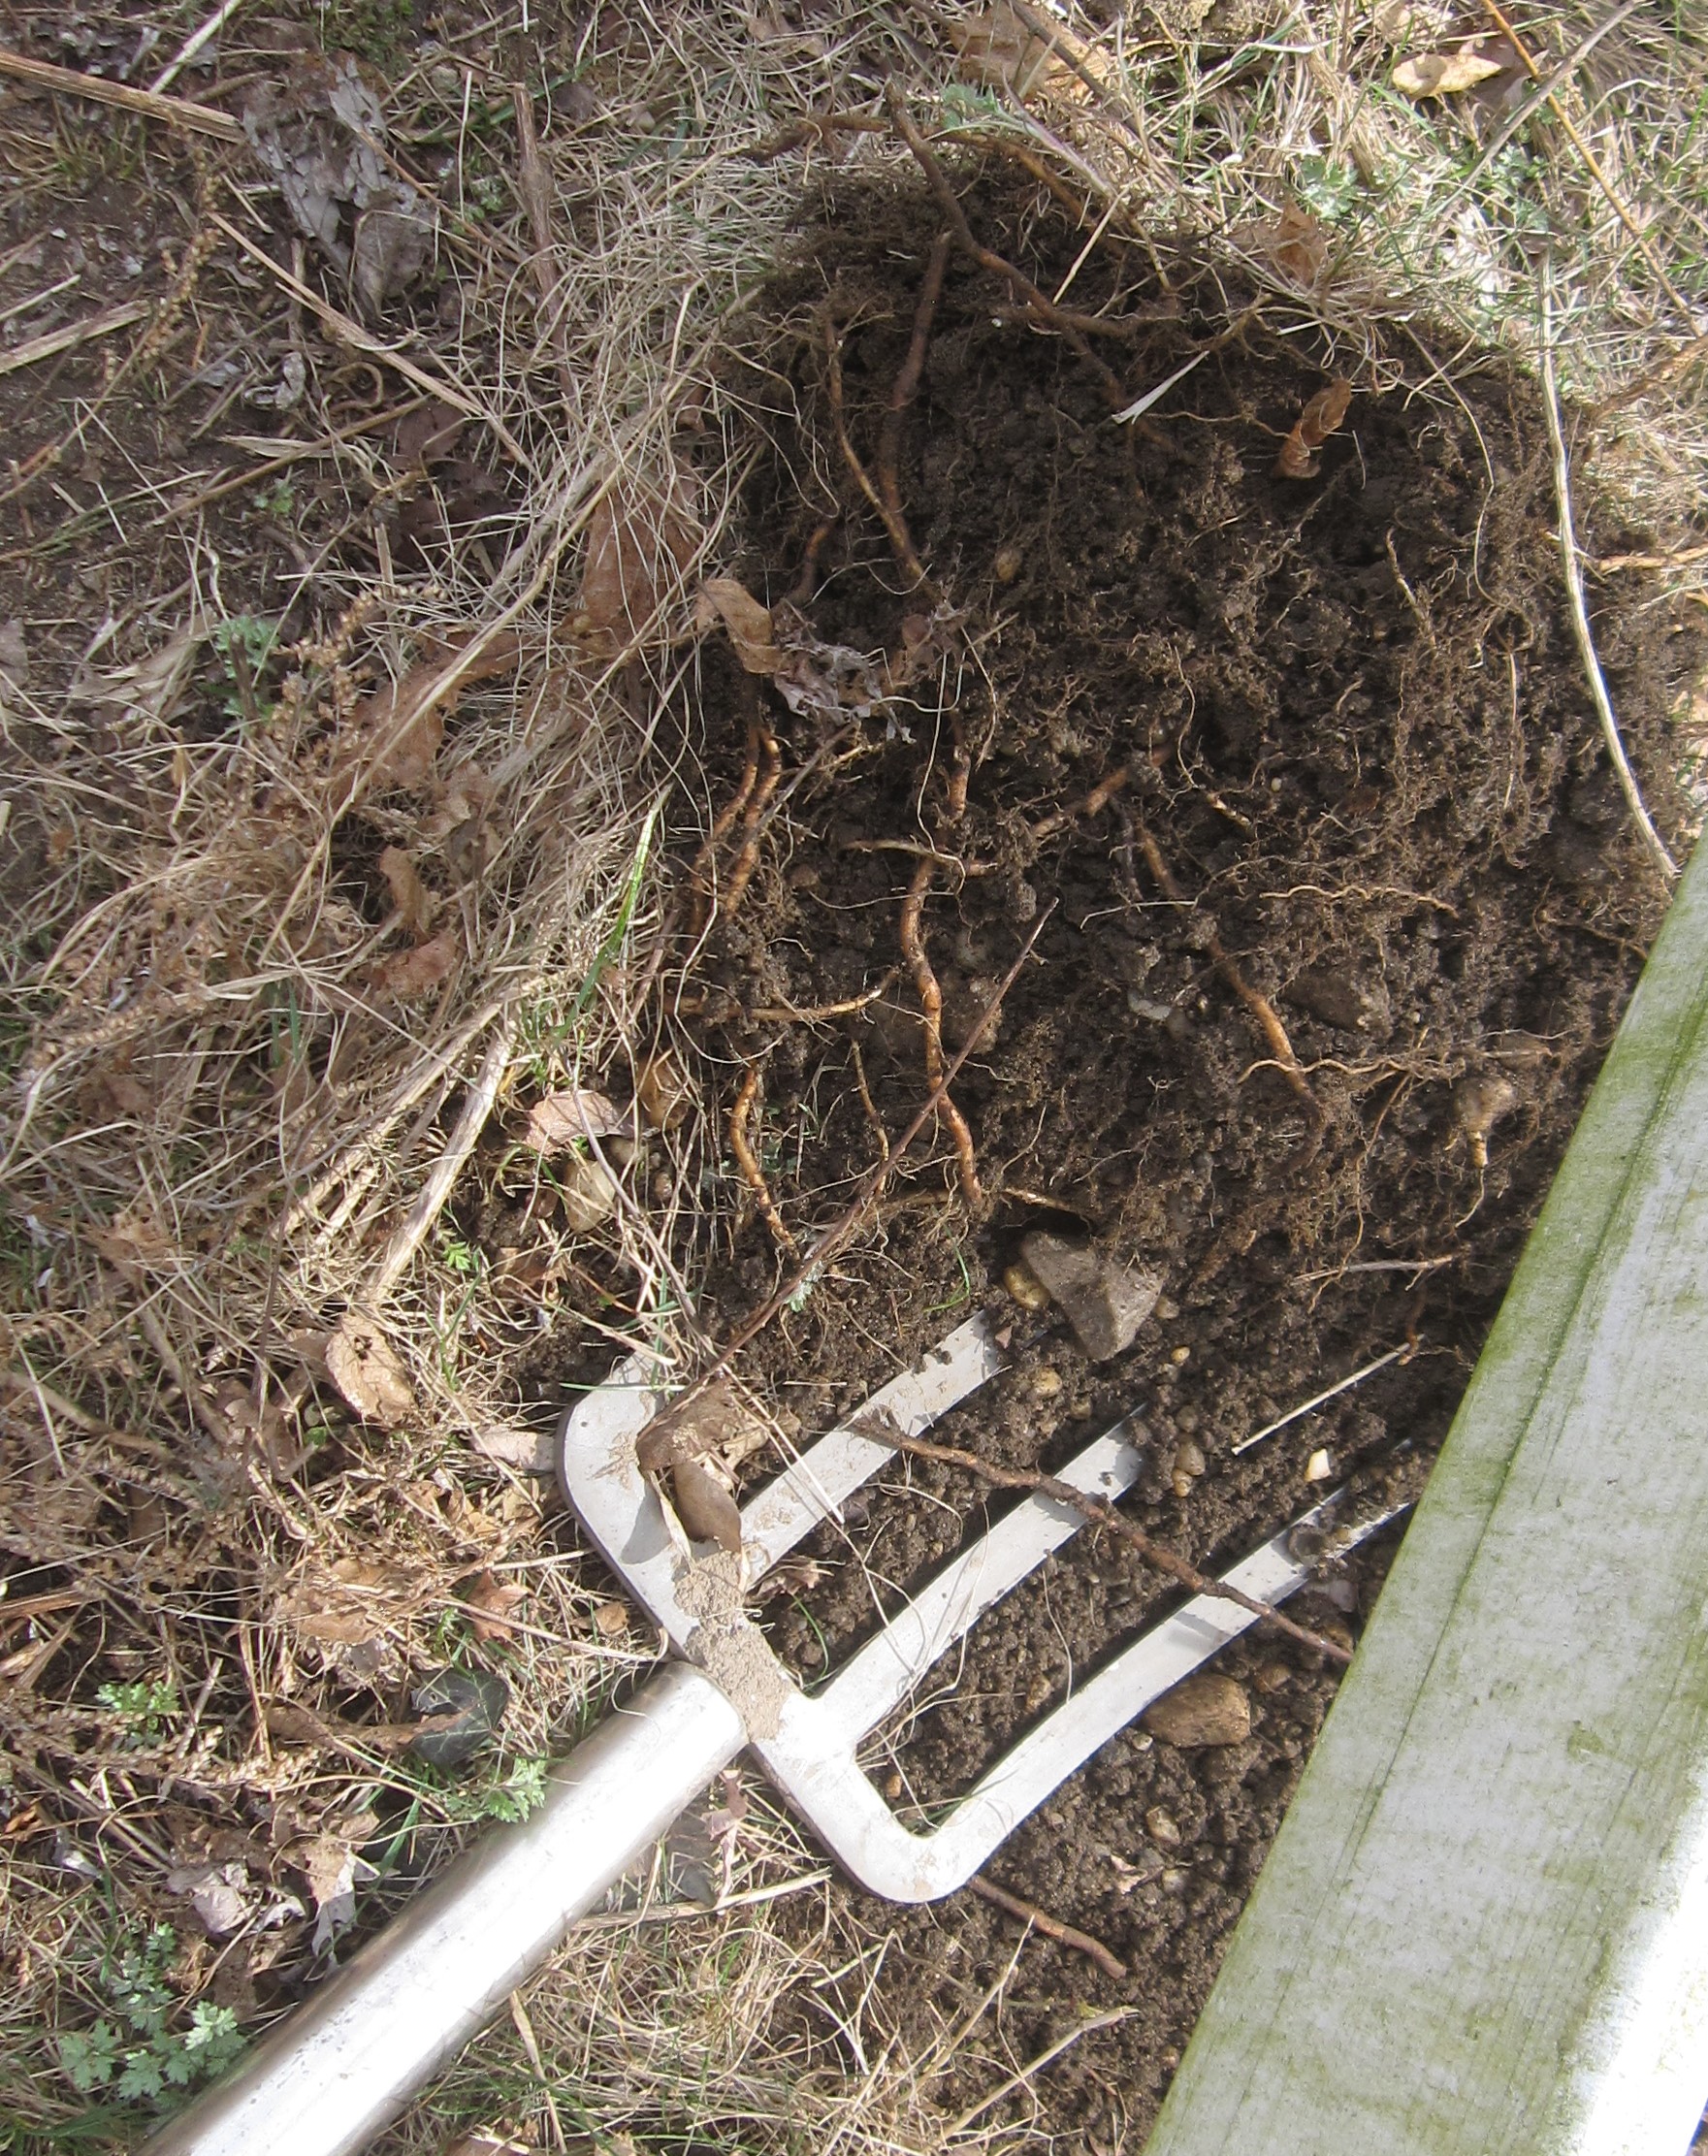
Since the rhizomes lie only an inch or two beneath the surface, they normally dry out when exposed to drying conditions above the ground. Slide a spading fork just beneath the plants, tilt the fork up, then flip the dirt with the roots/rhizomes so they are exposed to the air to dry, or better yet, remove and bag them for disposal.
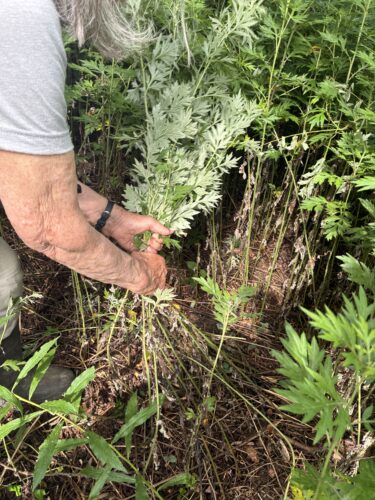
An excellent method for removing a large stand of tall, green mugwort (refer to the first photo at the top of this page) is to straddle a section with your feet placed three feet (3′) apart. Grab one solitary stem or up to over a dozen nearby stems with both hands, no more than 1 foot above the ground. As in skiing: with knees bent, shift your weight from side to side with tension on the bundle. As long as the ground is slightly moist, roots/rhizomes should give way as you sway to the other side. Repeat until all have released. Squeeze out the clumps of soil or hit the roots/rhizomes against bare ground.
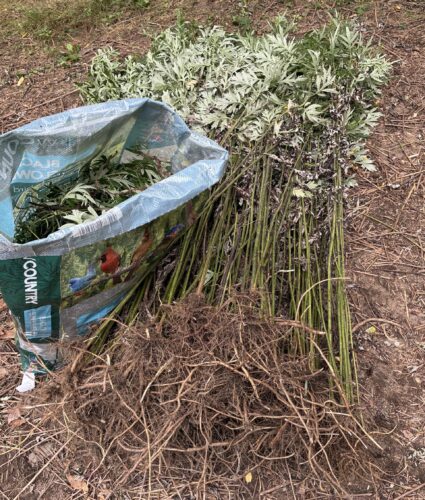
Bag and dispose all stems and rhizomes, including any flowers/seeds. To economize on bags, be sure to sever, and bag all the rhizomes and flowers/seeds for disposal.
If a section of rhizome remains in the ground and a thick stem grows, while the soil is moist, use heavy-duty lineman’s pliers at the ground level with the same side-to-side motion to extract it.
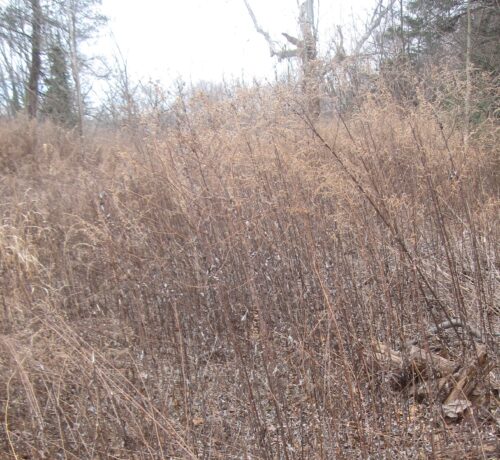
In the winter, carefully examine the shape and underside of any remaining dried leaves to avoid confusing mugworts with goldenrods, asters, evening primrose, or unrecognizable plants until they can be properly identified.
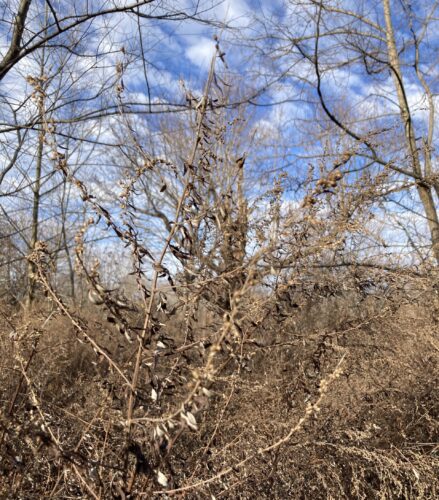
Another time to address mugwort is in the early winter when the plants are dry and brittle. First, break off and bag the seedheads for disposal, then uproot the stems during a thaw.
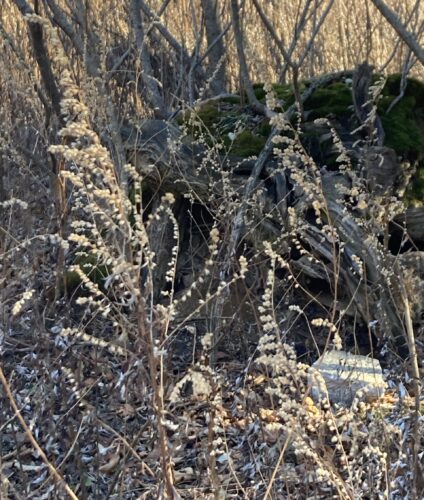
While seeds develop in late summer through early fall, they will begin to drop after a frost, a snowfall, or by mid-January. The plant tops no longer carry seeds by February. At this stage, the seeds are in the ground, where a small percentage will germinate.
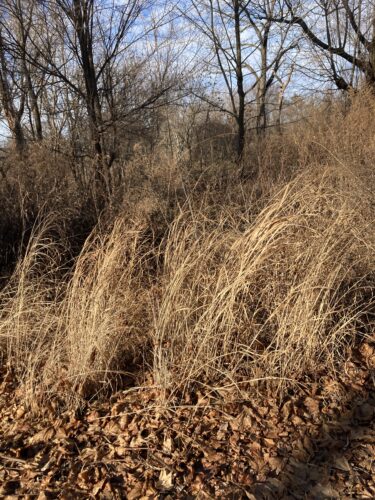
Follow up by seeding the cleared area with aggressive native plants such as switchgrass, goldenrod, common milkweed, and/or evening primrose. Shade from trees and shrubs should also help prevent mugwort growth.
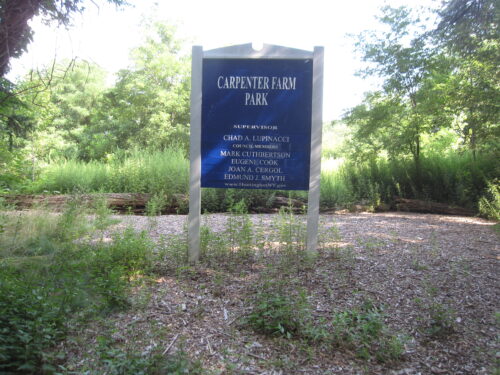
We pulled out all the mugwort plants in front and behind this park sign and laid down 2-mil black plastic sheeting secured with 6″ landscape staples. Then we covered the entire area behind the sign with four inches of wood chips. Some mugwort returned under the sign without the plastic sheeting.
Conclusion: Black 2-mil non-porous plastic sheeting plus a thick layer of wood chips successfully killed the mugwort rhizomes. Wood chips alone worked better than nothing, but not as well as with black plastic or a large tarp secured with 6″ long garden landscape staples. The best time to cover with plastic or a tarp is the beginning of summer, to be removed after three months, or by the end of summer.
Lessons Learned: Do not bother to mow mugwort. Someone did mow in early summer when the plants were about four feet high. They came back to their original height within one month. At the same time, in areas where plants had been uprooted, they went through the entire summer with much less regrowth.